Project Maya – The find and first hands on
This is a post in the Project Maya series. To see all related posts go to the index page here.
Finding the MDD I wanted was not hard, they are readily available on sites such as eBay. Finding one where I would not pay more than it’s worth however was extremely difficult. I’d find one for $50 (the most I’d pay for one) but shipping ranged anywhere from $40-$130 which put it way out of my price range. Locally I’ve only ever found one but it was so extremely damaged it wasn’t even worth the gas money to go pick it up. And so a few years passed.
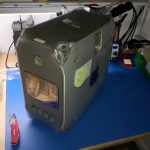
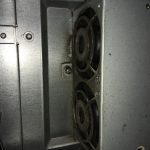
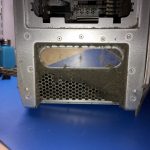
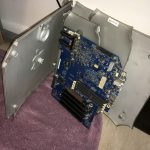
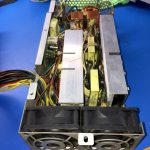
Then I found one at a resell/recycle facility. I contacted them and was able to get it for the price of shipping costs. Win! I had only one image to go on:
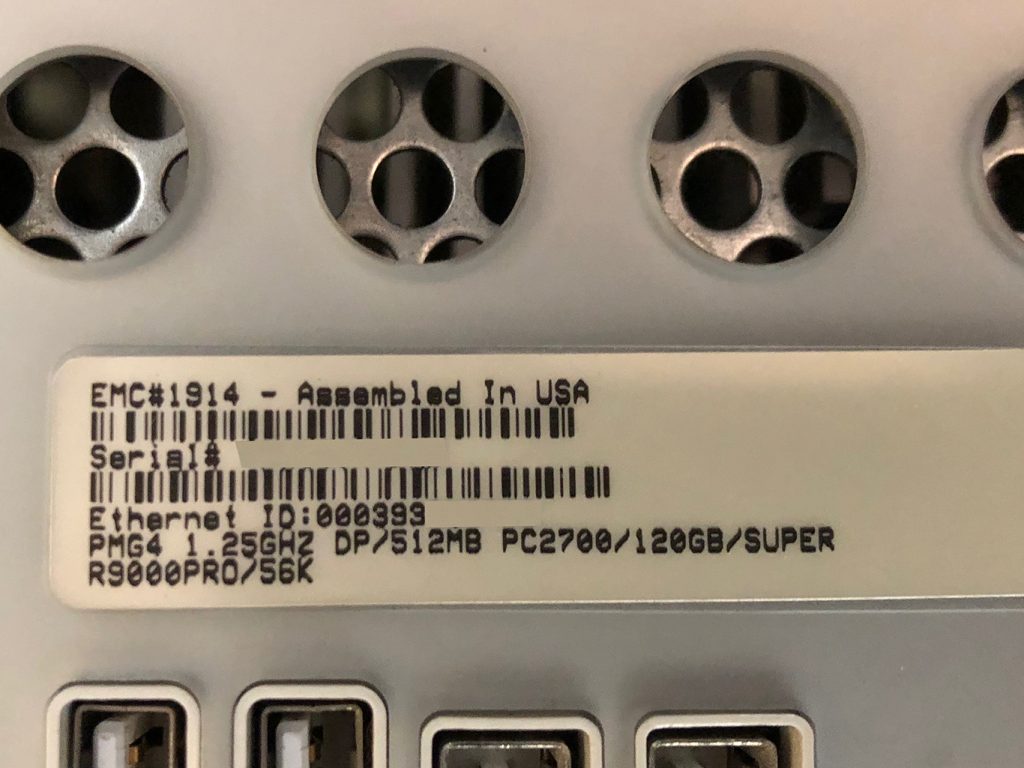
Also sent to me was a video with a demonstration of the Mac powering on after the power button was pressed. This was texted to me so the quality took a massive hit. By the time AT&T had worked their wonderful compression magic on the video all I had left to look at was something roughly the shape of an MDD that made the startup sound after the button was pressed. Unable to see any scratches or other damage due to the horrible quality of the video I did not want to push my luck and said “I’ll take it!”. My birthday was coming up after all so this was a gift to myself.
A week or two later the Mac finally arrived. Well packaged and following my suggestions to ensure best chances of arriving undamaged, it made it in one piece.
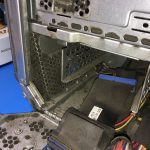
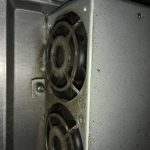
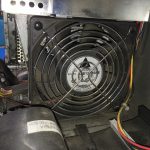
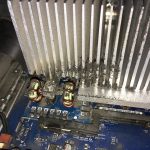
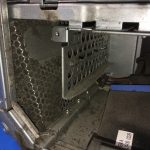
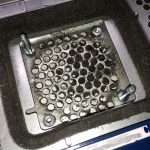
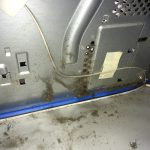
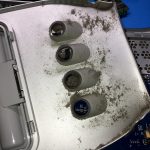
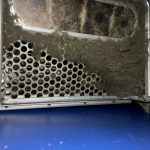
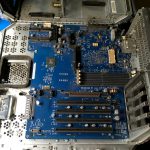
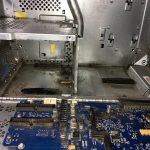
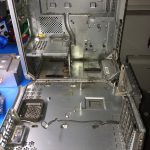
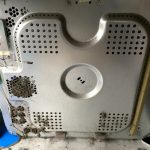
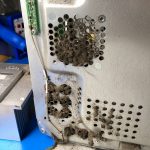
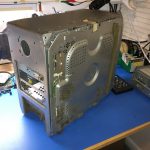
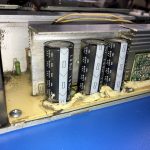
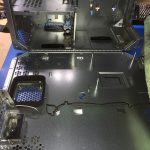
It was so gross inside this Mac that I decided to clean before I even tested if it powered on. And so the take-apart began.
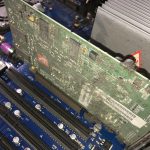
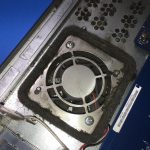
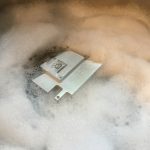
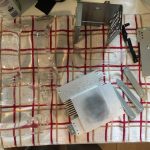
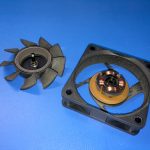
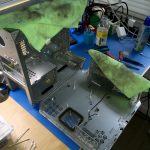
Of course next; the cleaning. With these oldies cleaning is pretty straight forward but time consuming. Everything that doesn’t have a circuit board is dumped in soapy water to soak for a few hours at least or overnight if it’s really bad. The enclosure was taken outside and pressure cleaned, then dried off and further cleaned inside. The logic board and all other components received lots of love with Q-Tips, compressed air and brushes. Fans were taken apart and cleaned inside and out.
I was so busy cleaning I didn’t take many photos but you get the gist of it.
After assembling the Mac it was time to test. I forgot how damn loud these things can be! It powered on and everything ran smooth.

It ran a little hotter than I liked to see (had not renamed the system yet after transferring the boot drive from my AGP Graphics G4).

Of course some geekbenching had to be done.

Damn you Tiger, it’s 1.25 Ghz, not 1.2.

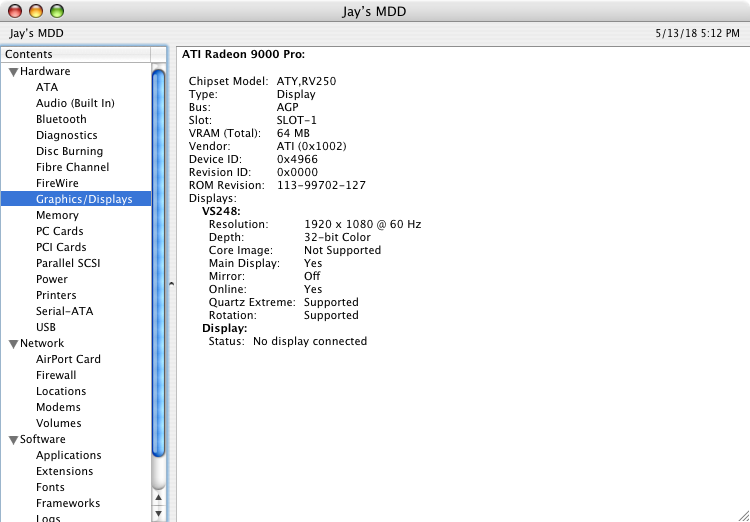

With everything in working order, it was time to start the upgrades. More on that in the next chapter 🙂
