Logic board repair, two years later
Two years ago I wrote a bit about my beginning in the board repair industry. You can read all about that here. It’s not a thrilling read by any means but I know it has helped a few people out over the years, so I figured it’s time for an update.
I am proud to say that I have repaired hundreds of boards and thus have saved people a LOT of money. Repairs that would have costed people up to $1200 at an Apple Store I was able to do for a fraction of the cost. Of course it pleases me immensely that in doing so I have made sure Apple did NOT get that money. A drop in the bucket but still, I’m doing my part and it feels great.
So what has the board repair business been like since I started in 2017? It started fairly slow but I quickly managed to strike a deal with a reseller that buys up used Macs, fixes them when needed and resells them. My deal was simple; send me your logic board repairs and I’ll fix them for a very competitive price. This allowed me to have a virtually unlimited number of boards to hone my skill on and the reseller got pricing that was much better than their then current board repair place. If I couldn’t fix it, no big loss. There was no customer waiting on the machine and it being broken meant the reseller paid mere pennies for it. Those I did fix resulted in a considerable profit for the reseller, even after paying me. I had some other clients but the bulk of the board repairs came from this reseller.
My success rate was great so they kept sending more, to the point where board repair was all I was doing. I had already stepped back from mostly doing Mac support for corporate clients and was now ready to say goodbye to that completely. I work best if I can work in peace, by myself or with a small team. Not a big fan of dealing with people so doing board repair let me work with hardware (which I prefer) and let me do it by myself, perfect!
Turnaround time
As volume increased the shortcomings of my small office became painfully clear quickly. Boxes were stacked ceiling high and organization… well there wasn’t any. I cleared out my 42U server rack and a good friend helped me turn it into a tower that could easily hold 200 Mac laptops. But even that was soon not enough… My success rate was high because I was able to hold on to Macs for weeks (remember, no customers were waiting on them so quick turnaround was not a requirement) until I figured out the problem and was able to fix it. This was great for my learning of board repair. How to track down issues, how boards work etc. It’s a different mindset but one that is fairly easily understood once you submerge yourself in it. And with boxes full of MacBooks (pros and airs) surrounding me, this was not a problem. Space was a big problem though. I could not keep shelving these repairs until I had time to circle back to them so I was forced to step up my turnaround time. This helped and I was able to see the occasional free shelf again. Getting to a point where I was able to diagnose and repair a board faster and get it out the door took a few months but it happened naturally. If you’re just getting started in board repair, don’t worry about speed if you have the luxury, work on skill and technique first. The speed will come.
Tools
The list of tools I posted 2 years ago mostly still holds today. I’m still using the $55 rework station which still uses the original heating elements. You can still find these stations on ebay and at the time of writing they are $49. Something I did add a few days after receiving the rework station is a heavy base metal iron stand. The stand included with the rework station is plastic and I melted the crap out of it within a day, so that thing had to go. My screw bin situation was also out of control. I used screw bins that were way too big and combined they took up more space than the Macs, so I found a bin that was perfect for this job. Small and with exactly the right amount of adjustable compartments. I’ve spent over an hour checking my amazon and ebay histories but am unable to find it, so here’s a photo:
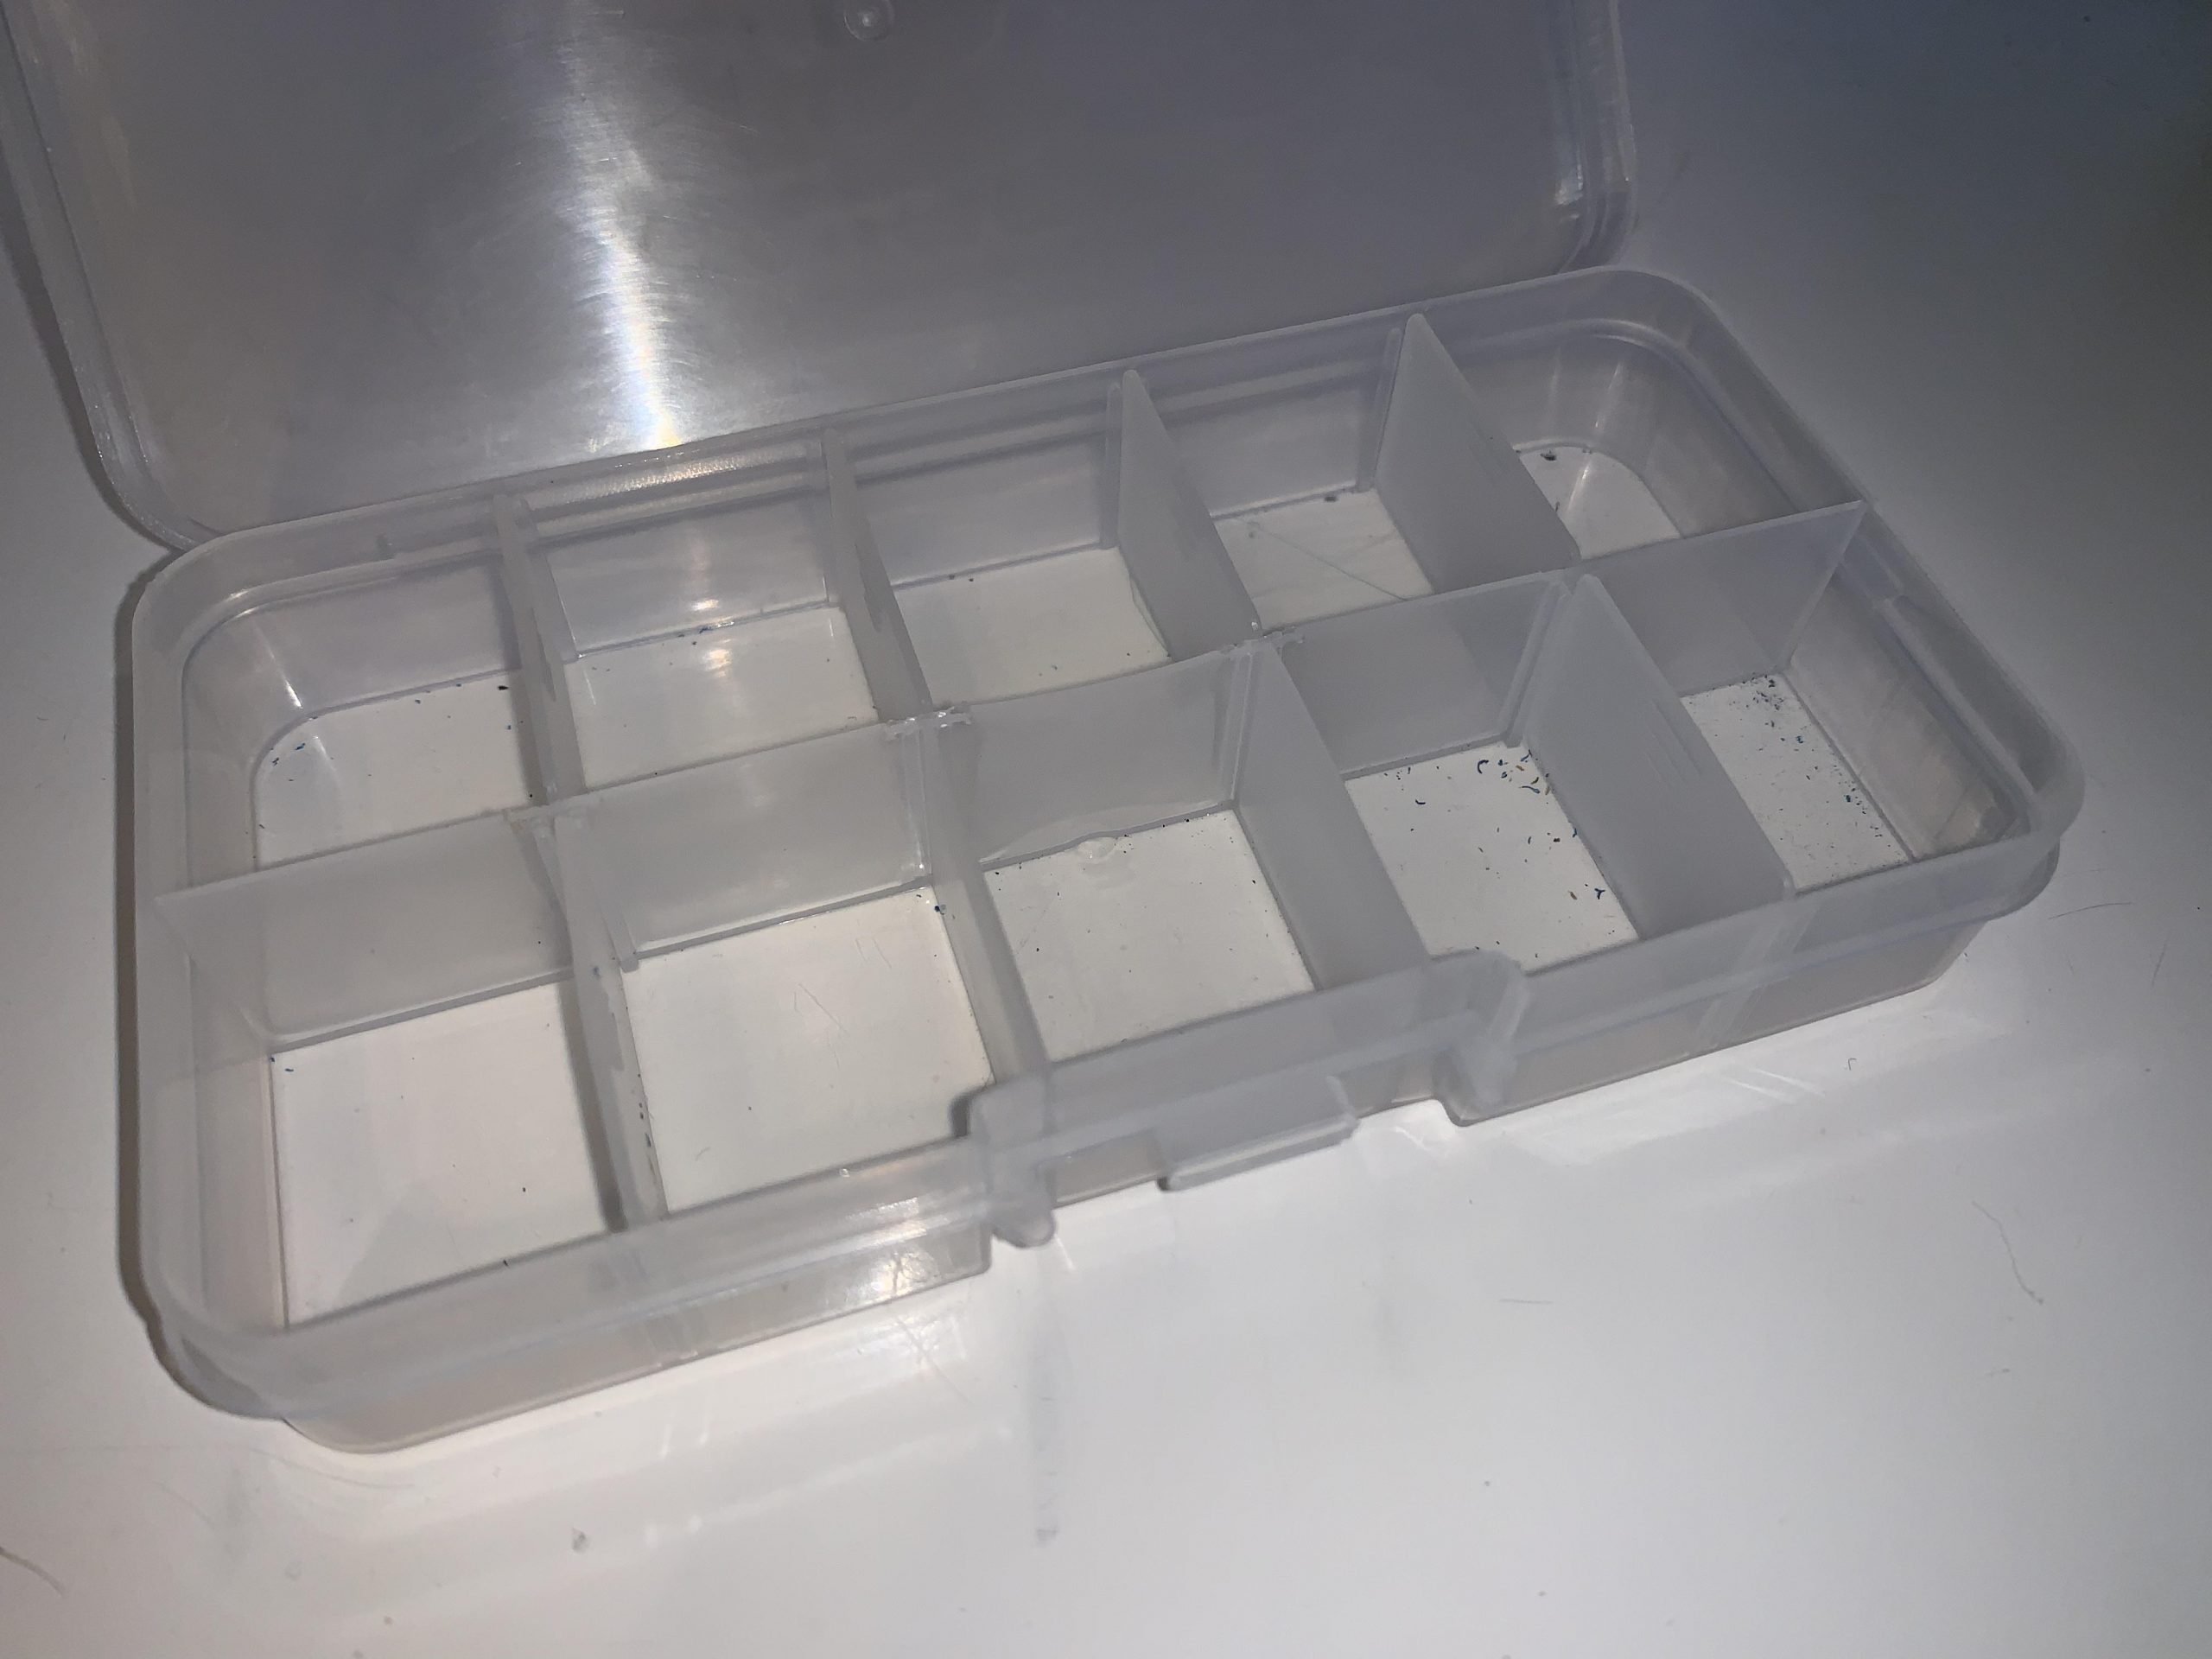

It’s the perfect size, cheap and durable. If you ever find these, please let me know what they are called so I can order some more.
I still use the same flux, AMTECH NC-559-V2-TF. It sticks around long enough for me to finish my work and cleans up nicely. Soldering tips have stayed the same as well and I’ve used about four of the Hakko T18-BR02 tips in the last two years. Two were used up and worn out, one was badly bent because I dropped it and one is currently still in use. The solder wick I used was replaced by NTE brand which is the best I have used yet. Something you’ll use throughout the day as well are clippers. You have no idea how important a good pair of clippers is until you use a dull one that doesn’t close flush for a while. So one of these was recently ordered to replace my (in hindsight) horrible clippers.
As for fume extraction, I still use the same crappy desk stand one I got two years ago but I have taken it apart and put a much more powerful fan in it. It’s now actually up to the task whether I solder or use the heat gun, fumes are sucked into the filter. These filters are replaced every few weeks by the way and you can find plenty of them on Amazon or buy a sheet at the local hardware store and cut them to size.
One thing I absolutely needed to have was an ultrasonic cleaner. These things are invaluable in this business and, while a bit of an investment, will earn back their cost and then some in no time. The cleaner I got was the Crest P1200D-45. Large enough to fit 17″ MacBook Pro boards and even Mac Pro CPU tray boards! Now I don’t see many 17″ boards anymore at the time of writing but this size still comes in handy as it will easily take two 13″ MacBook Air boards or a few 11″ Air boards and other components simultaneously. These cleaners come in handy when you’re dealing with liquid damage (which is 95% of the job), to clean up very messy repairs (lots of flux etc) or even to repair boards. Yup, sometimes I get a board that is visually perfect, has no visible or documented water damage but it’s dead. No failed components, no broken traces… by all accounts these boards should work. Toss ’em in the cleaner as a last hail mary and more often than not they will work again! Please do not cheap out on a good ultrasonic cleaner and don’t even bother with those jewelry cleaners as they will cause more harm than good most of the time (or so I’m told). Save up, get a small personal or business loan from the bank or family, and get it right. It will be worth it, no doubt. There are other brands out there but I’ve been very happy with this Crest. What you’ll also need is some cleaning solution for it. This stuff is pricey but lasts a long time as you only need one cup and the rest is all distilled water. If you take a minute to pre-clean your boards so that dust and thermal paste don’t enter the cleaner, your mix will last you a while. If you toss anything in there without pre-cleaning a little then expect to need a fresh ultrasonic cleaner solution every week.
Speaking of cleaning, I got a few dispenser pumps as well. These make it reaaaaaally easy to grab some alcohol, flux remover or other solutions so that your workflow does not get interrupted.
I still use the same microscope, the AmScope SE400-Z with 10x magnification. This scope has been enough for me and probably will be for a few more years. However, I am leaning to a scope that can do a higher magnification and is able to fit a camera. These are $500+ dollars so I’m still in the “thinking about it” phase but just like the ultrasonic cleaner, a good scope is invaluable. Components are rapidly becoming smaller and smaller so at some point 10x magnification is not going to cut it anymore. The changes in the last two years alone are incredible, it’s a good thing I have a steady hand and was able to hone my tweezer skills before everything got this small. The SE400-Z comes with 20x magnification lenses as well but they really, really suck. There’s no way to work with those lenses so I stick to 10x.
UPDATE: I started writing this article some months back but never got around to finishing it. Since I started writing this, I have upgraded my microscope to an Amscope SM-4NTP which is good for up to 45X magnification out of the box. I did add a Barlow lens of 0.7X to get some more working space under the scope so realistically I only have 31-ish X magnification. It’s still more than enough though. Still, if this miscroscope were to break, the previously mentioned SE400-Z 10X scope will allow me to keep on working, it’s still a great scope!
Another tool that was added shortly after writing my last article was a bench power supply. These come in really handy while diagnosing a board as a certain power draw can point you to the potential issue with that board. This is something you get the hang of with experience but it doesn’t take long. The power supply is also good for finding shorts in a board and catching power anomalies. Using OEM chargers to test your boards with will result in you needing to purchase several chargers a year, at least. So having this bench supply will save you some cash too and earn itself back quickly.
My collection of parts, tools, etc got a little out of hand so recently I grabbed one of these storage bins as well. There is more stuff I use that is not coming to mind right now but I’ll create a Kit below that has everything I use in it and I’ll update it over time. Order the whole thing (I get no kickbacks) to get off to a strong start or pick what you need 🙂
Software
If there is one piece of software you can’t do your job without, it’s OpenBoardView. Once you source your schematics and boardview files, this software is needed to tell you where each component is on the board and more. I used this for about a year before I switched to FlexBV. FlexBV is developed by Paul Daniels, same guy that develops OpenBoardView, but has a lot more features that make the job so much easier and faster. It has been worth every penny. If you just spent good money on tools and schematics, you may not have any left. I understand. In that case OpenBoardView which is free will get the job done. Once you start generating some cash with your board repairs though, consider the switch to FlexBV.
Parts
You’ll need donor boards and components, preferably in stock but otherwise able to order and have delivered in a short time frame. Donor boards can be obtained by browsing ebay, your local recyclers and aliexpress. Components, in my case, are always ordered from Rossmann Repair Group or Beetstech and if they don’t have it I check Mouser or ebay. Rossmann, Beetstech and Mouser have fast shipping options and if you pick your seller on ebay right, a purchase there should be able to be shipped quickly as well. orders from Aliexpress can take weeks to arrive but if ebay and recycling centers did not work out for you, it’s a good albeit slow alternative.
That’s about all that comes to mind right now. I’ll publish this instead of saving the draft again waiting for other updates to pop into my head 🙂 If you have any questions, leave a comment and I can answer them in a reply or expand this article.
Most importantly, if you want to start repairing boards or any electronics; just start. Don’t overthink it, just get the basic tools you need and give it a shot.
If you want to be the first to know about new articles I post, check the right sidebar of this webpage >>>
Look for the “Receive Notifications” widget and sign up. You’ll receive an email seconds after I post new content!
3 thoughts on “Logic board repair, two years later”
This is fantastic, thanks for posting!
Thanks mate, exelent read!
Thanks!