Restoring a damaged 2001 Power Mac G4 Cube
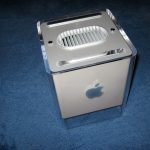
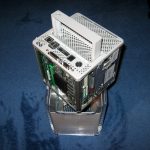
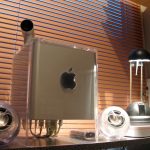
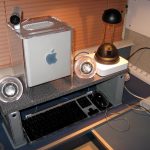
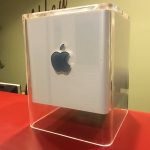
I have a G4 Cube, a beautiful, upgraded and fully functional G4 Cube. Unfortunately I had to leave it behind when I moved and thus haven’t seen it in 8 years. I used it sporadically but mostly I had it just to look at it once in a while and think “Damn, that’s a sexy Mac”. Here’s a few photos from 2008.
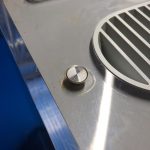
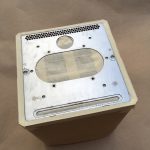
I miss having my sexy Mac to oogle so I’ve been on the lookout for a cheap Cube I could fix up and put up for display in my office. Last week (Mid February 2018) I finally found one. Listed as “for parts / untested” and with not-so-great quality pictures, I took a risk and got it. Cheap means I won’t find a working Cube in good shape so I knew I’d had to settle for a clunker, this one fit the bill. Here are the images from the eBay listing.
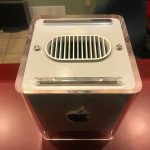
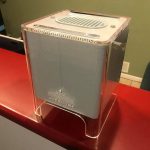

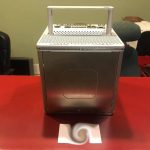
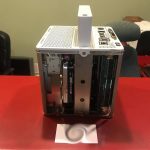
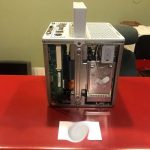
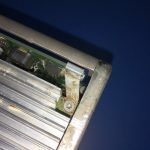
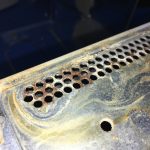
At the time of looking at this eBay listing it was 11PM, I had barely slept in 4 days because my son was sick and I was not paying that much attention. I did notice this was a liquid spill Mac as it’s clearly visible on the graphics card heatsink but did not examine the other images carefully. So I bought it, because I still wanted a Cube and a fun restoration project. I don’t like to simply buy a Mac and be done, I want to clean, restore, tinker and upgrade. I got what I wanted. I already saw what I missed in the eBay photos as soon as I pulled it out of the box, this thing got soaked.
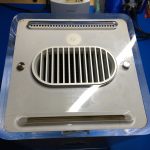
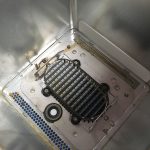


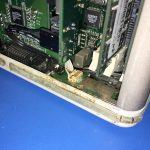
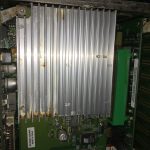
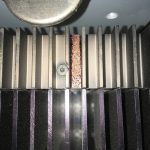
It didn’t just get a full cup of coffee poured over and in to it, the previous owner didn’t even bother to take it apart and clean it or bring it to a store where they could. The result is a rusted and corroded mess. Every component except the modem got a dose of caffeine (decaf wasn’t a thing 17 years ago like it is now). Don’t get me wrong, I am not complaining. I got exactly what I wanted; a restoration project!
This project will probably take a few years to complete. I’ll work on it when I have nothing else to do (which is not often) and fix it up as I go. I don’t have a power supply for a Cube so I can’t even test the thing when I’m done. I hope that by careful cleaning and soldering I can salvage most of these components, the challenge is to buy a little parts as possible and work with what I got. I’ll update this post as I go so if this interests you, check back once or twice a year to see what’s new 🙂 Let’s begin!
2018 – February 26
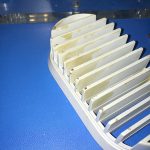
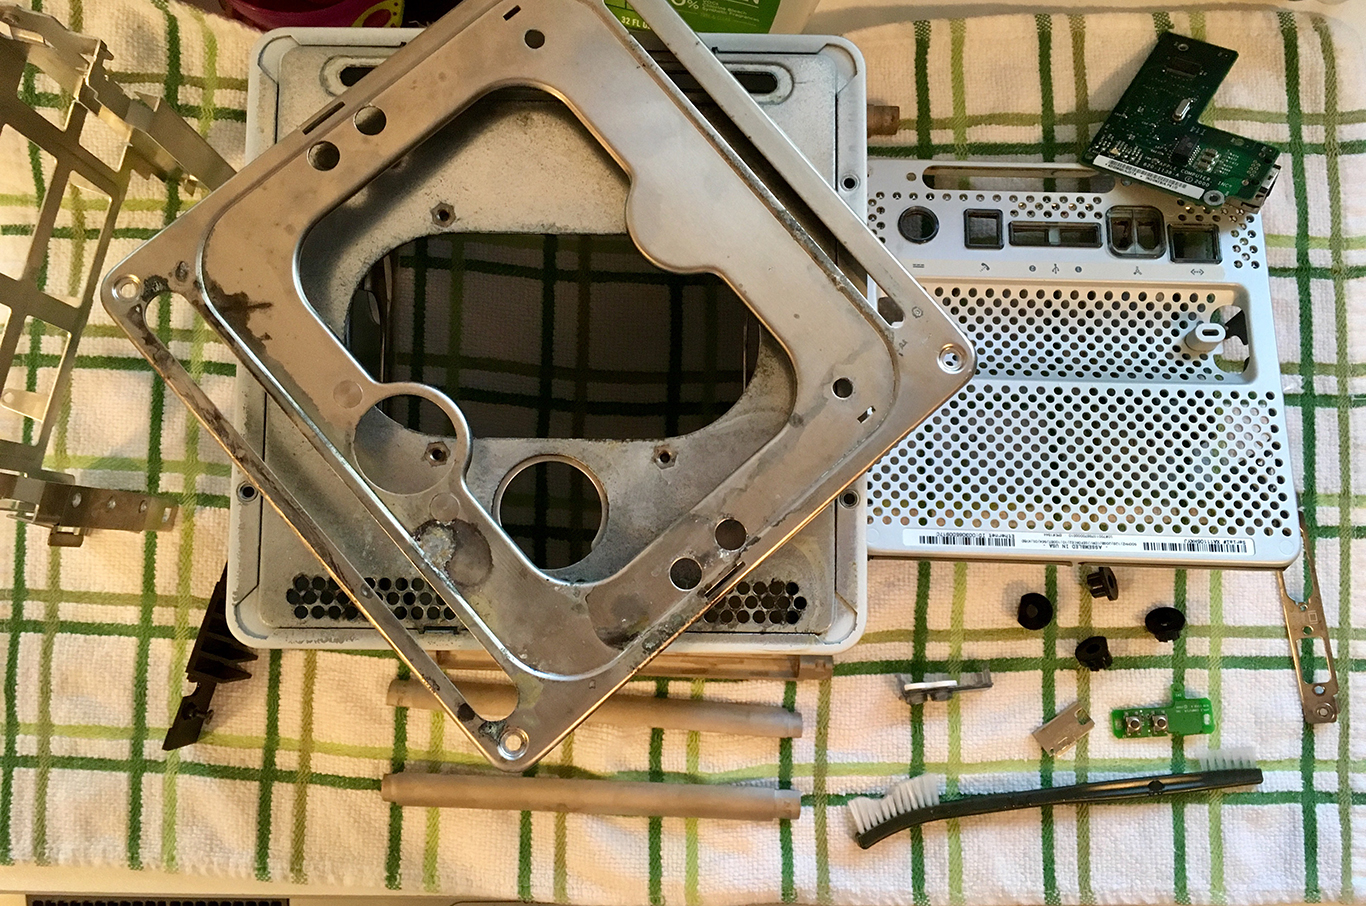
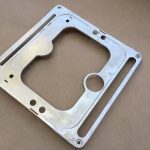
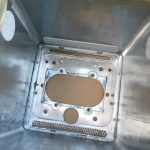
I received the Cube, unpacked it and after taking a few photos started pulling it apart. I have not taken a Cube apart completely in over 10 years so this took me a while as I carefully labeled screws and took pictures of the process. Still, putting this back together will probably be a disaster. But we’ll worry about that a few years from now. The first order of business was to get rid of rust and corrosion where it was present, so pretty much everywhere. This basically consisted of tossing everything in a few big tubs with soapy water and letting it soak overnight. Not just the metal parts but plastics and electronics as well.
After some brushing, this took care of most of the rust and corrosion. There was a lot of staining and pitting on the metal but a dremel made short work of that.
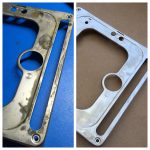
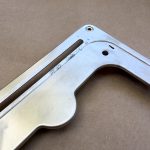
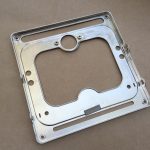
With some spots hard or impossible to reach with the dremel some questionable spots remained inside the enclosure. As I live in Florida and am always dealing with humidity, I do not want to give any rust that remains a fighting chance so decided to give it all a coat of paint. Cutting off the humidity and oxygen won’t give any rust a fighting chance.
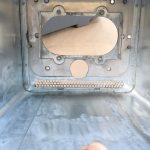
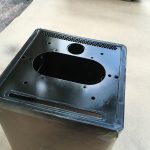
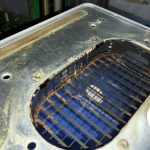
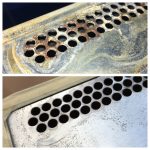
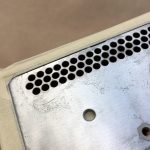
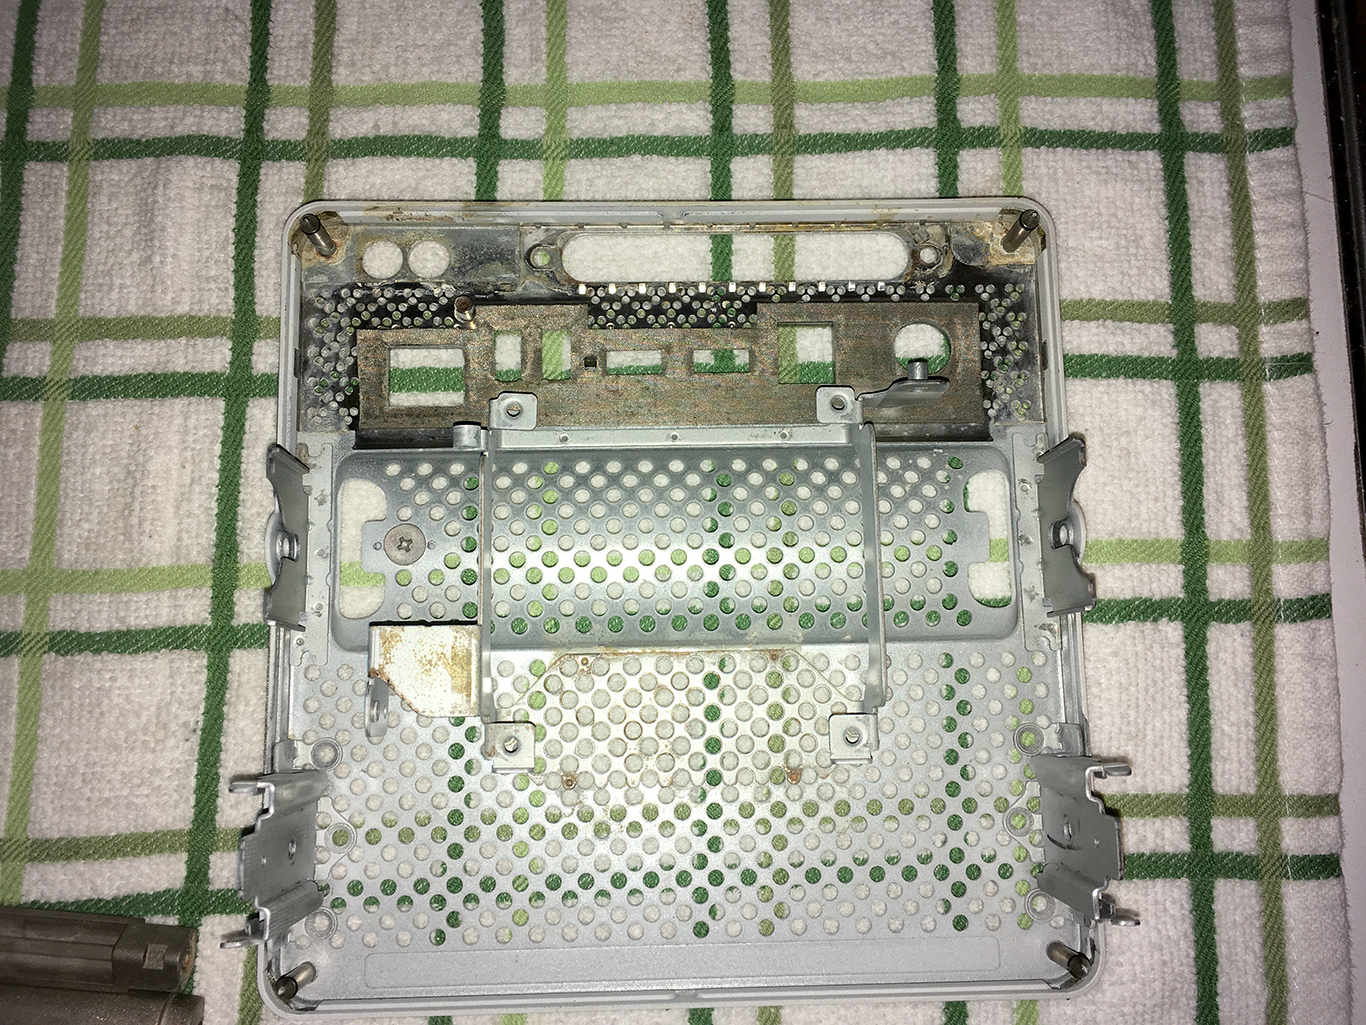
The same paint was applied to the other rusted internals. As cool as I like the black look, none of this will be visible by the time the Cube is reassembled. Not sure yet what to do with the bottom of the enclosure, some rust remains and I can’t reach it properly with the dremel. Cleaning that up by hand is going to take a lot more time than I want to invest and simply painting it will clog some of the smaller holes down by the ports and mess up the mesh pad that’s barely hanging on as it is. Will have to think about this one…
To be continued…