The easiest and most overlooked Apple hardware test
You’re about to meet a buyer that has the Mac you want. A quick power on test to see if it even fires up, a quick glance at the About This Mac and System Report.. hmm looks alright. You hand over the cash, take your new Mac home and find it’s not in as good of a state as you thought it was. There is a very easy test you can do to get a general idea of the overall health of a Mac.
For Macs from 2013 – current, it’s called Apple Diagnostics
For Macs older than 2013, it’s called Apple Hardware Test (AHT)
For simplicity, I will refer to both as Diagnostics from here on.
Accessing the Diagnostics is easy but varies depending on the age of your Mac and if it holds a recovery partition. Simply power on your Mac and immediately hold down the “d” key.
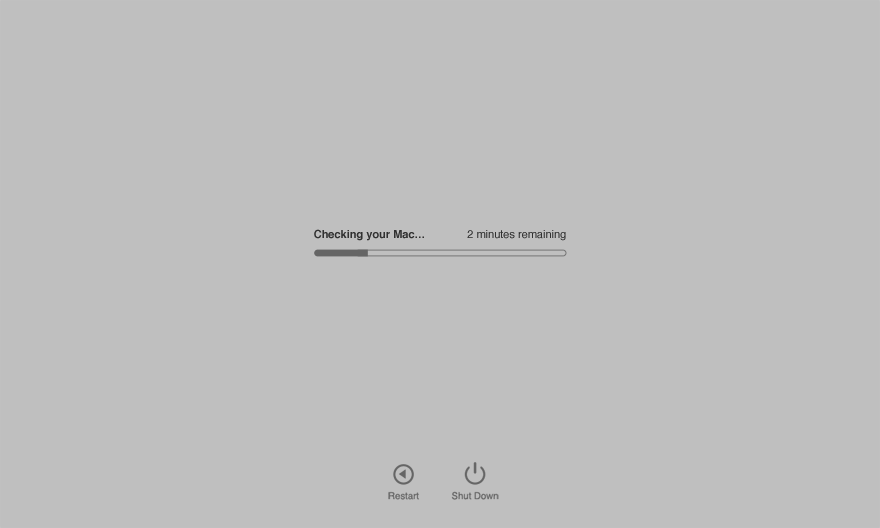
(2013 Mac or newer) If Diagnostics is present (part of your recovery partition), you will be asked to select a language. Once you make your selection the test will begin and after about two minutes you’ll get the all clear or an error message.
(2013 Mac or newer) If a globe icon shows instead of a language selection screen, no recovery partition or Diagnostics were found and it will have to access the online version. You’ll be asked to join a Wi-Fi network or the test will load after a minute or so if your Mac is connected via ethernet.
(Pre-2013 Macs running OS X Lion or newer) A hardware test icon will show up on your screen during boot and shortly after you’ll be asked to select a language. AHT offers more control over the testing so if you can, make sure you check the ‘perform extended testing’ box. This will ensure your RAM is thoroughly tested but can take a very long time to complete.
(Pre-2013 Macs running OS X older than Lion) Booting up with the “d” key held down may not do anything unless you have the disc that came with your Mac labeled “Applications Install Disc 2.”, or in the case of MacBook Air, the OS install flash drive.
If for some reason booting your Mac with “d” held down doesn’t work, you can also download the AHT disc images and burn them to a CD/DVD or restore them to a flash drive. A repository of these images is kept on Github here: https://github.com/upekkha/AppleHardwareTest
That’s all there is to it. Quickly test pretty much any Mac for obvious hardware issues.
Keep in mind Diagnostics/AHT is a quick test, there are far more comprehensive hardware tests out there called Apple System Diagnostics (ASD). I can’t tell you where to get them but some creative Startpaging might help 😉 If you want to know which version of ASD you need for any particular system, have a look here. There is nothing newer than ASD 3S162 so don’t bother looking for it. In 2014 Apple switched from ASD to network only tools such as MRI.
There you have it, a simple test that is built-in on most Macs and easily accessible on others, which will tell you in a matter of minutes if there are any serious issues. All you have to remember is to hold down the “d” key at startup or bring a flash drive/CD with the appropriate AHT version next time you meet a seller.
If you have more time to test a machine, have a look at the following Intego articles where I go a lot more in depth on hardware and software testing.
How to Verify Your Mac’s Hardware Is Working Properly
How to Verify Your Mac’s Software Is Running Smoothly
Thank you to my Patreon supporters for making this and future content possible!
• Michael A Stanhope
• Greg Thompson
• Greg Hrutkay of Hrutkay Mods
Did you like this content? |
|

6 thoughts on “The easiest and most overlooked Apple hardware test”
Definitely have to bookmark this one. Good information
Good write up Jay
> the 250GB Maxtor that was inside this iMac will soon be on it’s way to me. It does not appear this drive was ever wiped after it left Apple so there may be some beta firmware or other goodies
Ever look into this further? Find anything interesting?
The drive hasn’t been sent yet but I expect it soon 🙂
Dear Jay,
I don’t know where to post this exactly so I thought I would try here.
Our non-profit is trying to repurpose and use some Xserves. We are having some very good fortune by finding a few 2009 Xserves with all the caddies, dual CPUs, ram, etc. we would like to boot from SSDs mounted in the Cd bay but are finding it doesn’t work consistently. We know there are sole limitations but my coworker and I are not system admins. We have scoured the internet for any info. Snow Leopard seems to work but nothing else works reliably. Can you provide any answers as to whether this is possible or not. Any help or advice would be appreciated.
Hi Emil, interesting idea. I have never tried to do this so can’t really advise on it. I will suggest the “X-Serve Owners” facebook group though, if anyone knows how to pull this off they’ll probably be in that group 🙂